Create a campaign
Creating a campaign lets you accept electronic donations. Set up school-wide campaigns or smaller campaigns for a single club or classroom.
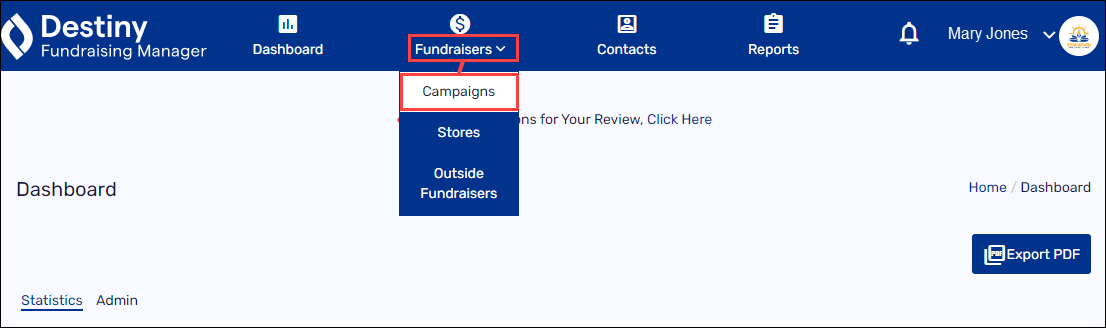
1. In the header, select Fundraisers > Campaigns.
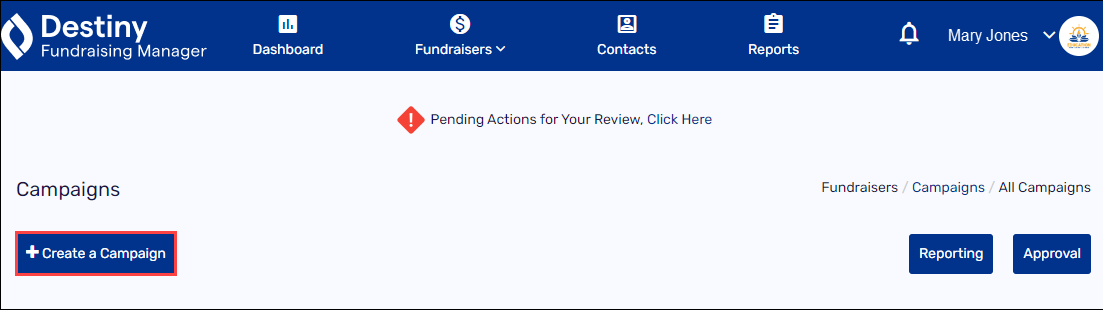
2. Click +Create a Campaign.
The Campaign Details page appears.
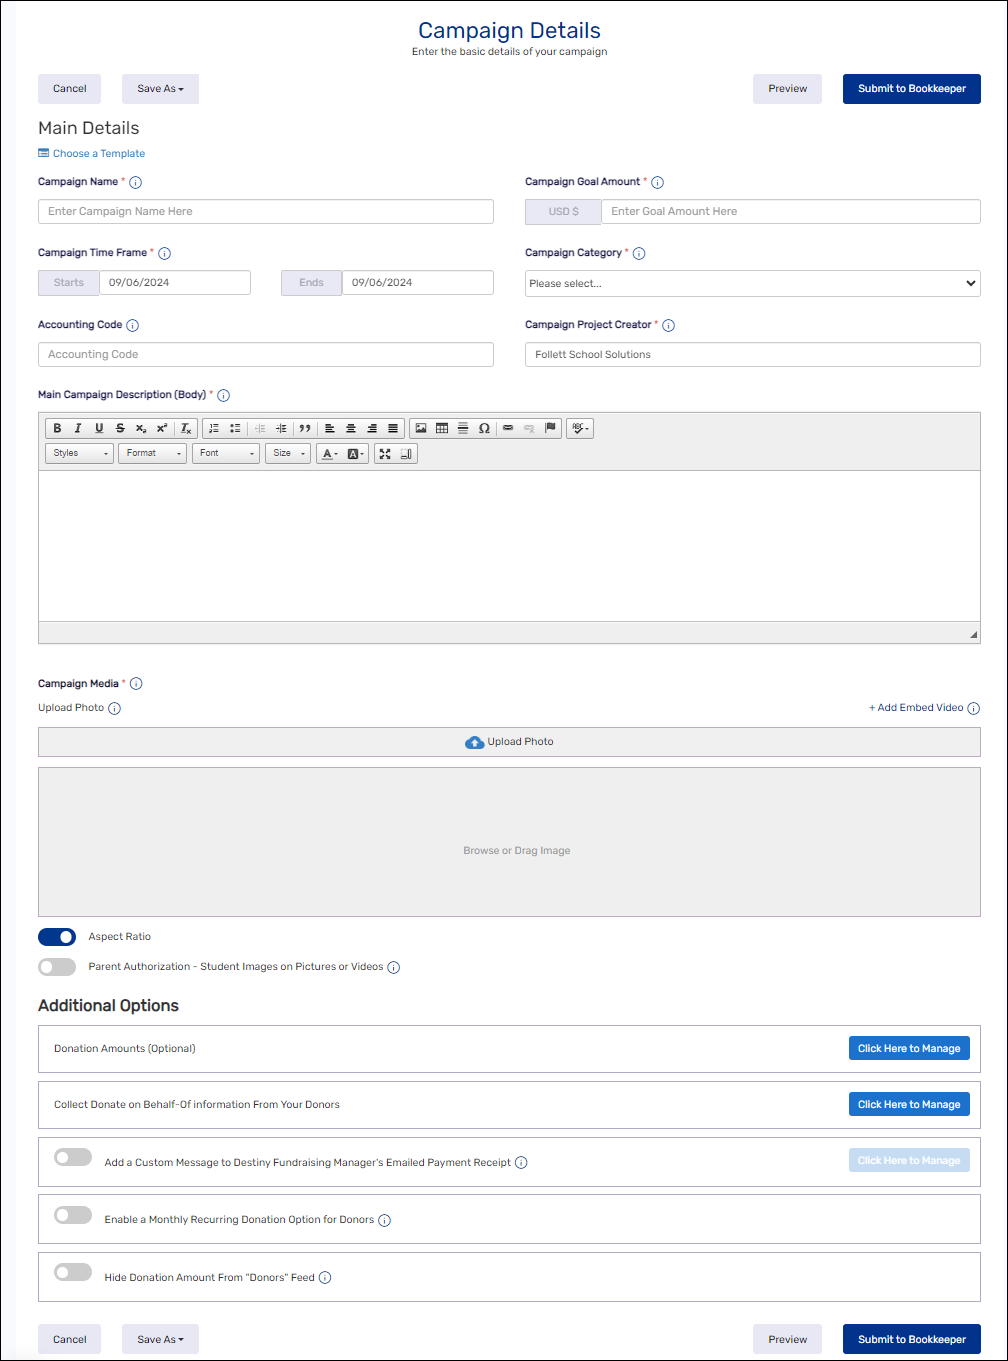
3. Fill in your campaign details:
Note: You can reuse or edit a template from a previous campaign or use a template rather than start from scratch. Under Main Details, click Choose a Template, select the desired template, and then click Save.
|
Field |
Description |
|---|---|
|
Campaign Name |
Enter a name. Note: This is displayed at the top of your campaign and makes up the end of the URL on your campaign page. |
|
Campaign Goal Amount |
Enter your target goal amount. |
|
Campaign Time Frame |
Enter the start and end dates. When your fundraiser is approved, it will go live on the start date. |
|
Campaign Category |
Select a category from the drop-down. Note: Categories are prepopulated. If you don’t see your category, pick the closest match. |
|
Accounting Code |
Leave this blank. It will be filled in by the bookkeeper as part of the approval process. |
|
Main Campaign Description (Body) |
Enter a description for your campaign. Notes:
|
|
Campaign Media Note: At least one photo or video is required. |
Do one of the following:
Note: The video must be public for it to be visible. |
4. Leave the Aspect Ratio toggle turned on to maintain the standard (21:9) ratio for photos and videos.
5. If you have received parental permission for each student shown in every photo or video for this campaign, turn on the Parent Authorization – Student Images on Pictures or Videos toggle.
Note: Verification is the fundraising organizer’s responsibility. The Fundraising Manager does not confirm parental authorization.
6. Under Additional Options, do any of the following:
|
Task |
Description |
|---|---|
|
Set suggested donation levels |
To set suggested donation levels, click here to manage. 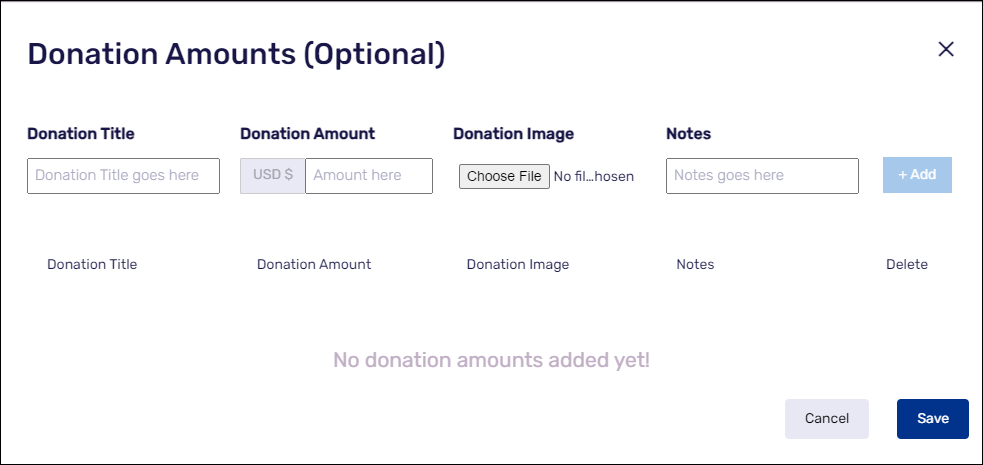
a. Enter a donation level title, such as Gold. b. Enter the donation amount needed to reach that title. c. Upload an image (optional). d. Add a note by typing it in the field and then clicking +Add. e. Repeat these steps for each level you want to add. f. When all desired levels are added, click Save. |
|
Allow donations on behalf of others |
Next to Collect Donate on Behalf-Of information From Your Donors, click Click Here to Manage. 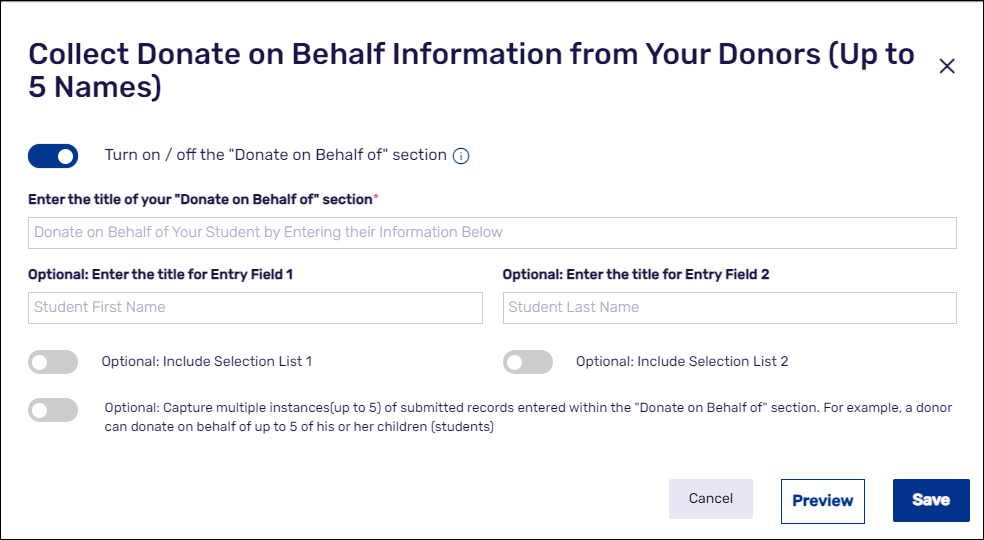
a. Turn on the Donate on Behalf of toggle. b. Enter a title for this section. c. Enter a title for Entry Field 1, such as Student First Name (optional). d. Enter a title for Entry Field 2, such as Student Last Name (optional). e. To include Selection List 1 and/or Selection List 2, turn on the toggle and fill in the fields. For example, you can add a list of homerooms for donors to select from (optional). f. To let donors indicate up to five names, turn on the multiple instances toggle. For example, someone might want to donate on behalf of their children. g. Click Preview to see how this section will appear. h. Click Save. |
|
Add a custom message |
a. Turn on the toggle to Add a Custom Message to Destiny Fundraising Manager’s Emailed Payment Receipt. b. Click Click Here to Manage. c. Enter your custom message and signature message. Notes:
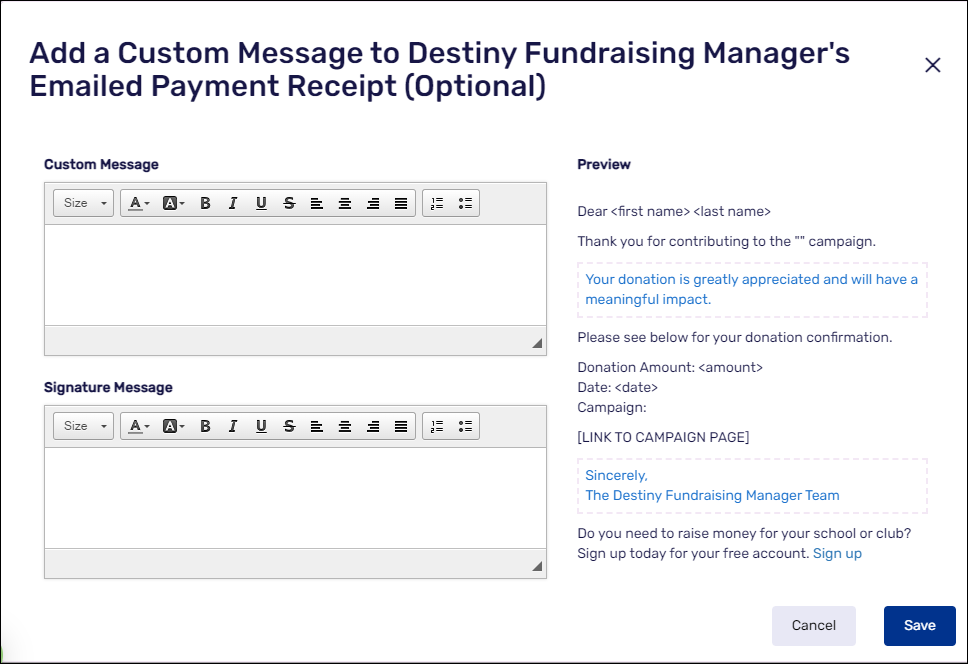
d. Click Save. |
|
Allow monthly recurring donations |
Turn on the toggle to enable a Monthly Recurring Donation Option for Donors. |
|
Hide the donation amount on the campaign page |
Turn on the toggle to Hide Donation Amount From “Donors” Feed. The donor’s name will still appear unless they choose to donate anonymously. |
7. Do any of the following:
-
To submit your campaign for approval, click Submit to Bookkeeper. The bookkeeper will enter the accounting code and submit the campaign for district/school approval.
-
To see how your campaign will appear to donors, click Preview.
-
To complete the campaign details later, select Save As > Save As Draft.
-
To save this setup for a future campaign, select Save As > Save As Template.
For additional help, contact techsupport@follettsoftware.com.